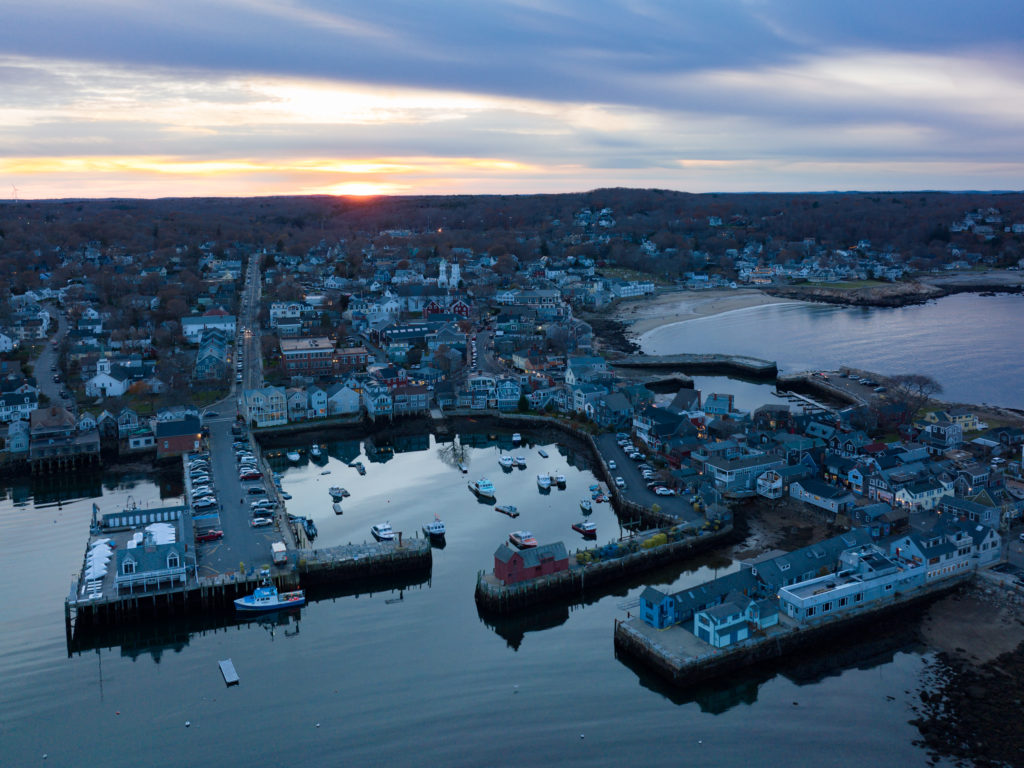
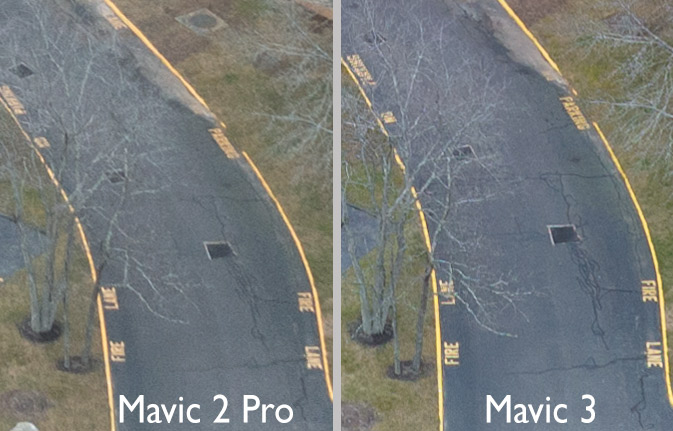
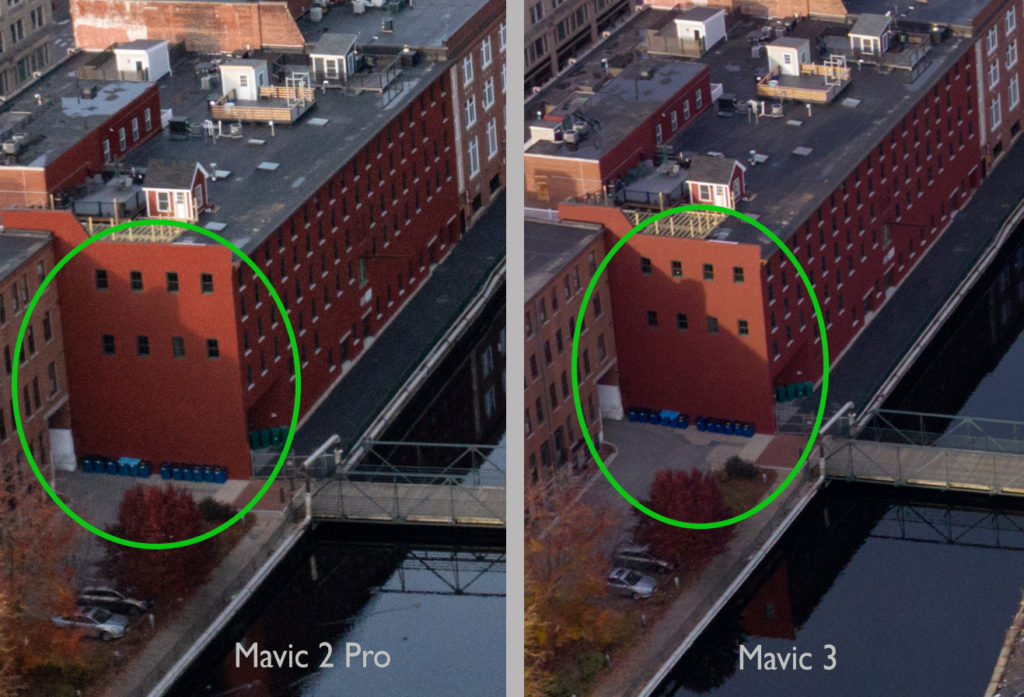
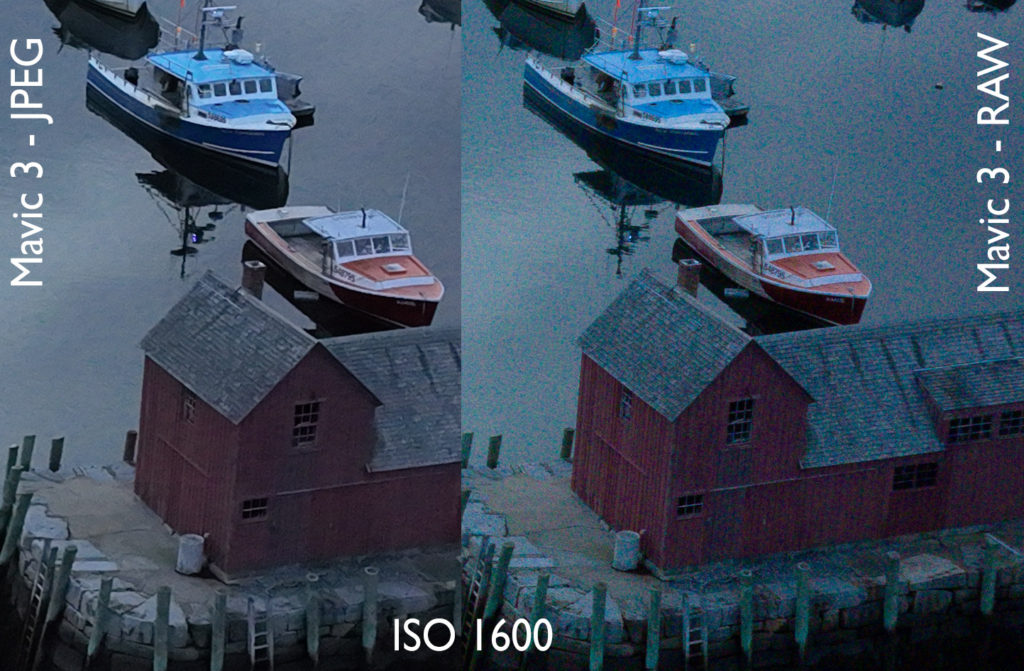
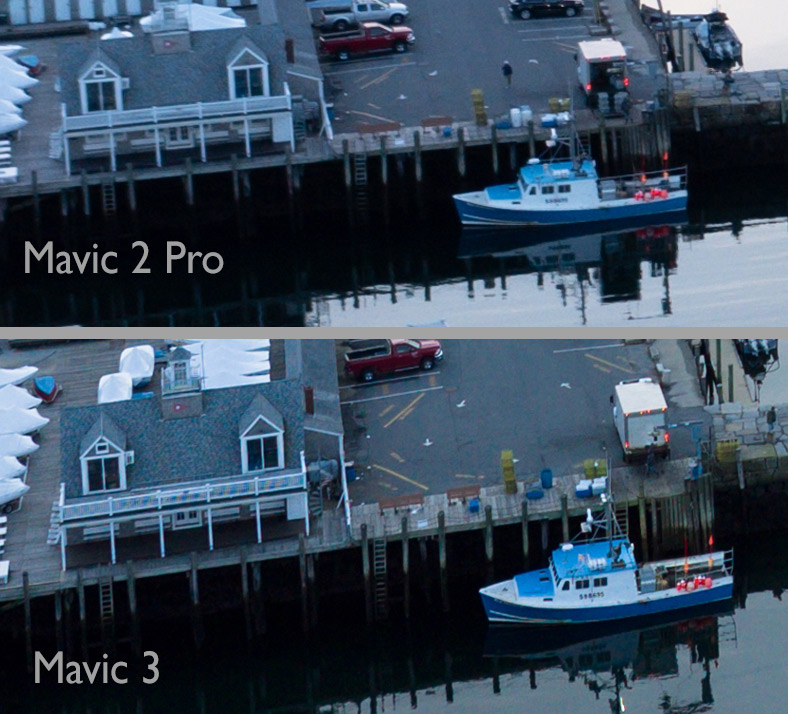
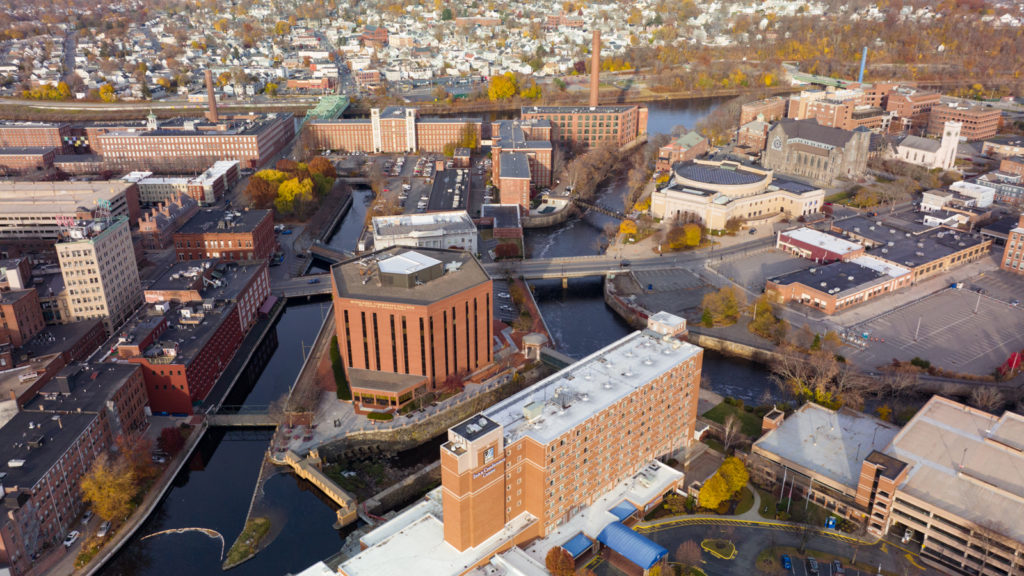
In addition to visiting Gloucester this weekend, I also ported all my photography and tools to a new computer. As I imported new images from a camera drone, I took the new computer on a test drive to verify that my tools were all in good order.
This scene had both very bright highlights and very dark shadows; I doubted that a single exposure could contain both the highlights and shadows. As you likely know, such situations are known as high dynamic range (HDR). I captured a bracket of three exposures. In retrospect, it was a wise choice. The middle exposure was spot on, however the foreground was nearly black and some background highlights were blown out – white boats and white buildings. The darker exposure provided correction for the blown-out highlights. The lightest exposure was used to replace the black foreground water with dark-blue water.
Initially, I processed each of the three in Lightroom and then combined them together using Photoshop. From Lightroom, open the three images using “Edit In” -> “Open As Layers In Photoshop”. Once opened in Photoshop, select all three layers and choose “Edit” -> “Auto-Align layers”. Here, there are six Projection options; I chose “Reposition” because the three images were identical composition that varied only by exposure.
A selection of the highlights was applied as a layer mask on the darkest layer, such that only the highlights are used from that layer. A selection of the foreground dark water was applied as a layer mask to the brightest layer such that the foreground is lightened. The resulting image is shown here on the right.
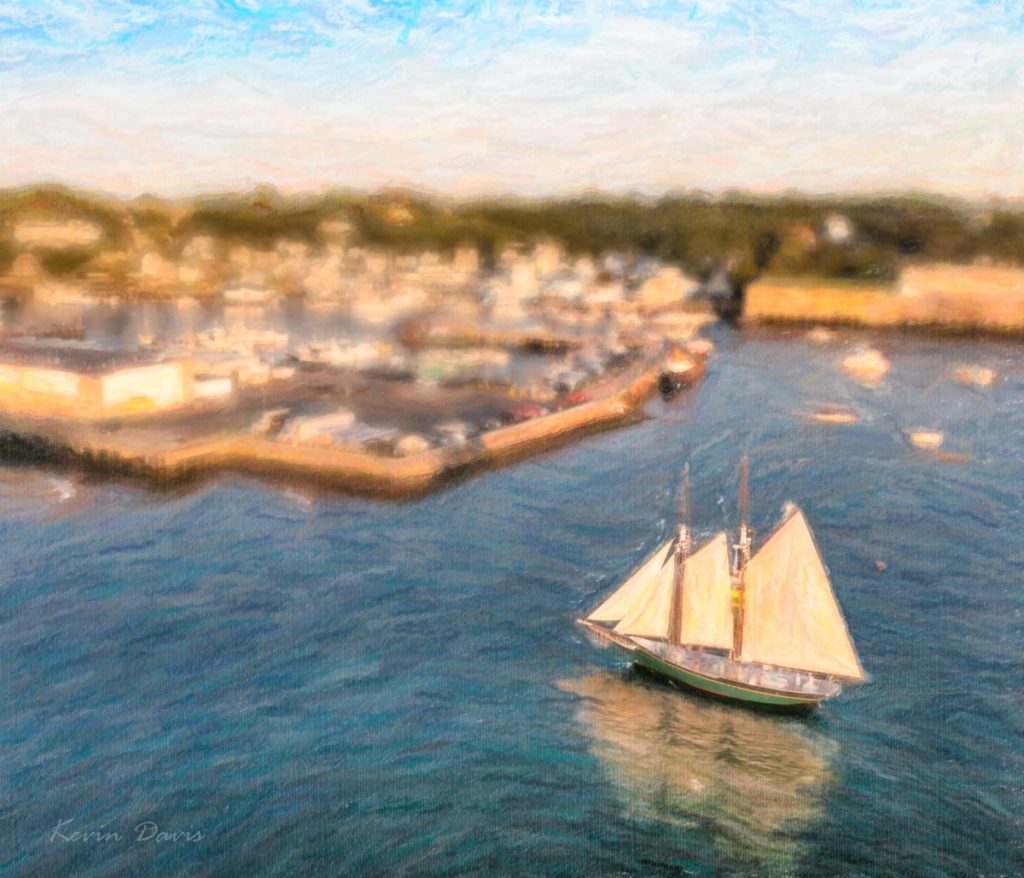
From there, I applied three image filters by Alien Skin. First was Bokeh, to blur the image – except for the schooner. Then I used two different variations of Snap-Art. All this was done through Photoshop. Upon saving all of this (TIFF file), I was back in Lightroom. Judicious use of brightness, clarity, and color saturation enhanced the simulated brush strokes. The end result is shown here on the left.
For some folks, the annual blooms of flowering trees are highly treasured. While other trees – magnolias, crabapple, etc – are spectacular, ornamental cherry trees are commonly deemed to be the pinnacle of flowering trees. In Japan, the word Hanami means the viewing enjoyment of flowers (hana), but specifically the blossoms of cherry trees.
In Tokyo Japan, the reported peak blooming occurred around March 22. In Washington D.C., it was March 28 this year. But here in the northeast USA, the blooming is just starting.
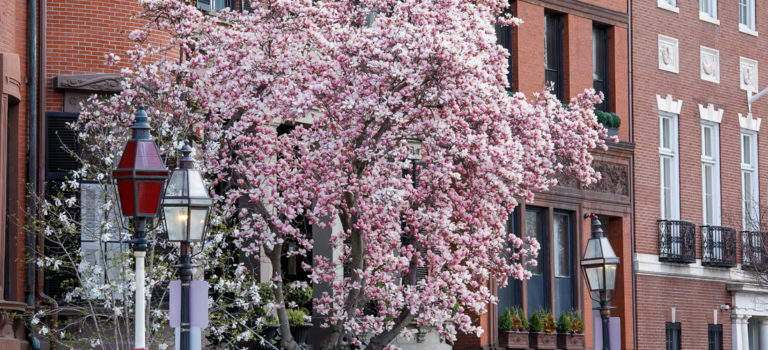
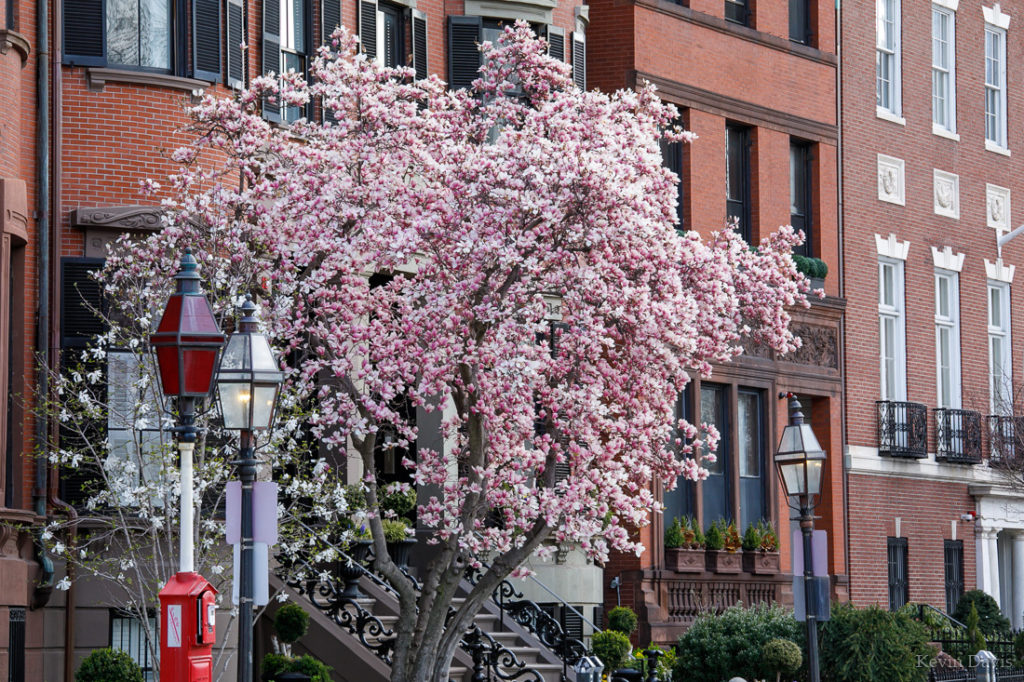
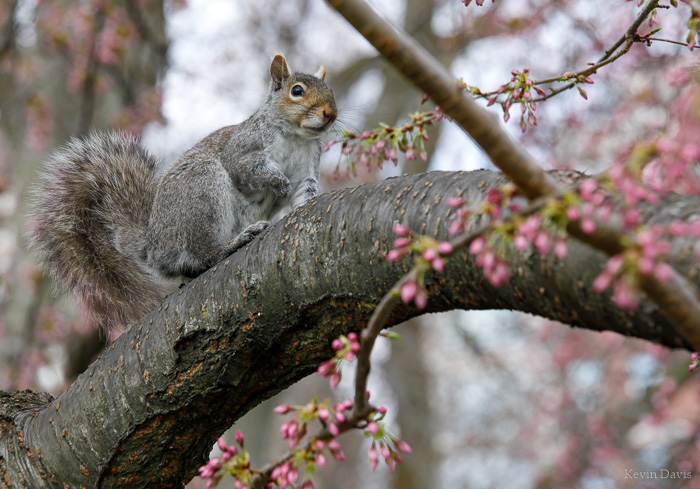
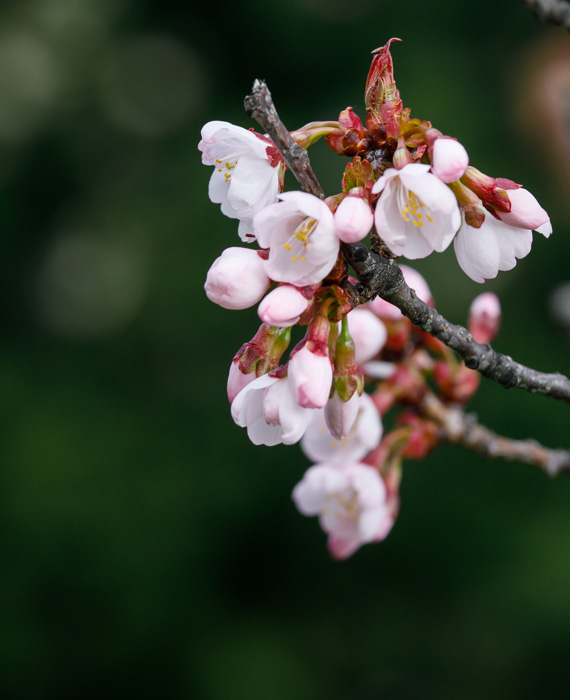
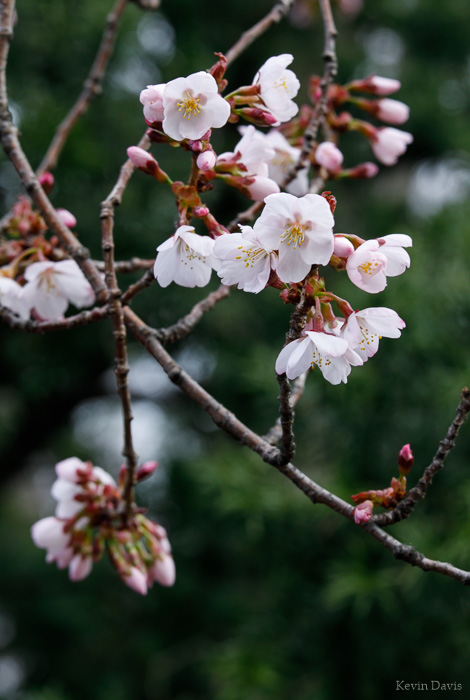
Here are a few samples from Boston this past weekend. The first photo is of a Saucer Magnolia in full bloom. The squirrel sits upon a Yoshino Cherry tree that has not yet bloomed at all. The close-ups are both Sargeant Cherry as it was just beginning to bloom.
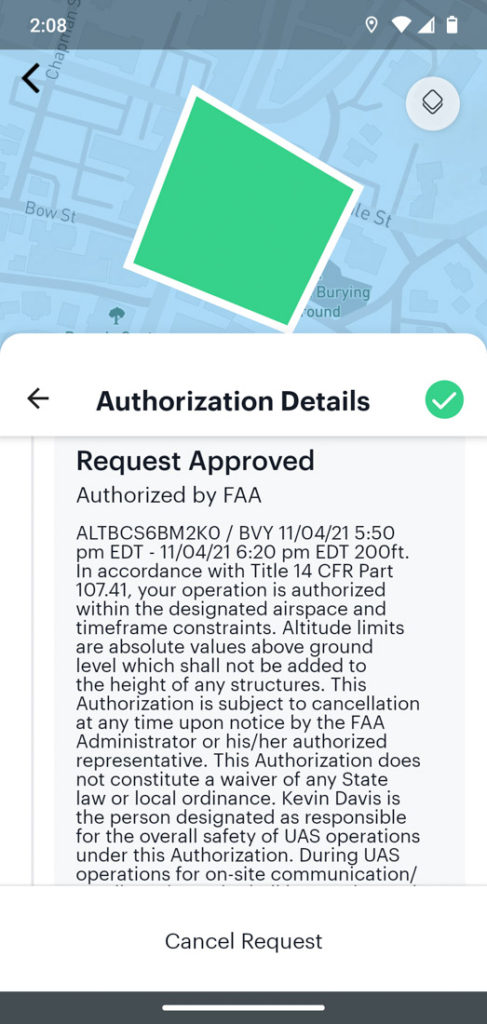
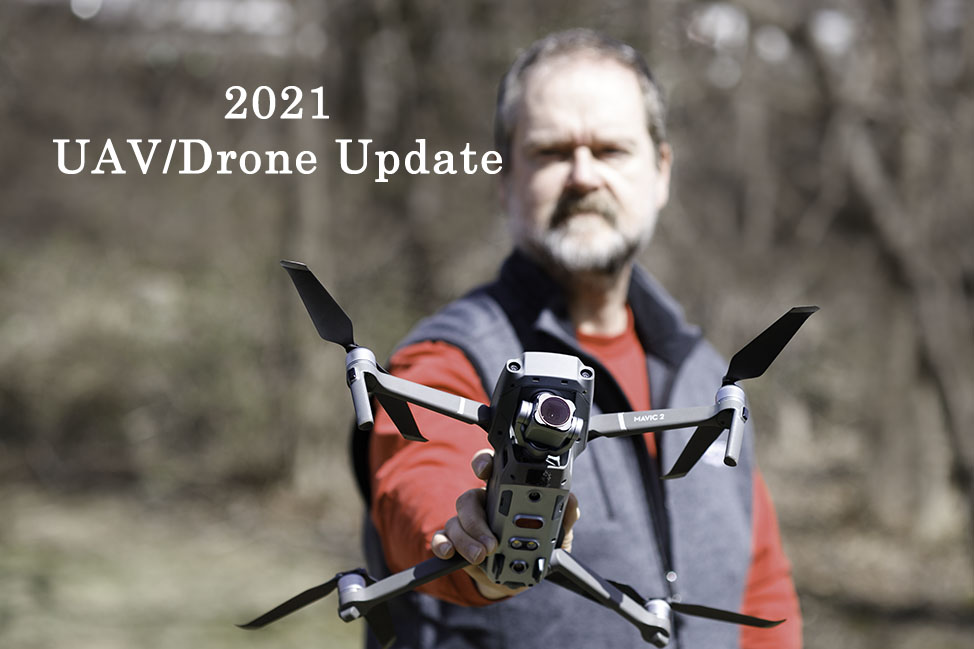
If you’re using an aerial drone for photo or video (or anything else), the FAA has released new rules for drone pilots. These changes do not take effect immediately but are very significant.
Flying over people
FAA part 107.39 has prohibited flying a drone over people (beyond flight operations staff participating with the pilot in charge) unless the pilot obtains a formal waiver from the FAA. As a pre-requisite, the applicant must be a certified remote drone pilot in accord with FAA part 107.
Beginning in 2023, certified Part-107 pilots will be allowed to fly a drone over people and a waiver will not be required. However, there is no change for recreational pilots (not certified); recreational pilots are not allowed to fly over people and no waiver can be obtained.
This also applies to flying over moving motor-vehicle traffic.
Specific restrictions require some form of protective guard around spinning propeller blades that might lacerate or otherwise injure a person on contact.
Currently, FAA part 107.26 prohibits flying a drone at night unless the pilot in charge obtains a formal waiver. As a pre-requisite, the applicant must be a certified remote drone pilot in accord with FAA part 107 and the drone must be equipped with particular lighting.
Beginning April 21st, 2021, certified pilots will no longer be required to obtain a waiver … if knowledge of night operations has been demonstrated via FAA drone pilot exam. The certification exam (to become a Part 107 Certified drone pilot) will be modified to include questions about night operations.
Remote ID
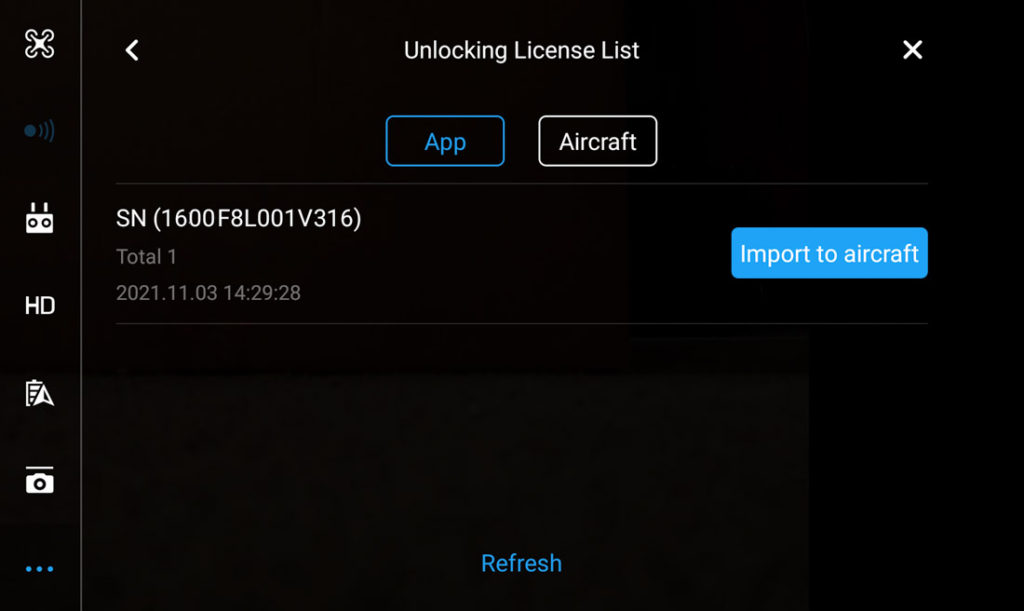
“Remote ID” is sometimes referred to as digital license plates for drones. Beginning April 2022, all new drones will be required to include Remote ID. And beginning in 2023, all drone flights (using any drone, old or new) must broadcast Remote ID. Small drones that weigh less than 0.55 drones are exempt from these new requirements.
Remote ID is not entirely analogous to automobile license plates. Remote ID broadcasts (via either Wi-Fi or Bluetooth) the drone’s unique ID, the current location of the drone, the location of the remote control (location of the pilot), and an emergency indicator (e.g. low battery). Many people are concerned that broadcasting the location of the pilot could provide an open door to thieves (a drone may be considered an item of value) and to people who simply hate drones and wish to harass the pilot.
If you already own a drone – or you purchase a new drone in 2021 – and it does not include Remote ID, you will be able to purchase an add-on device that fulfills Remote ID requirements. This add-on device is sometimes referred to as a beacon. The cost should be $50 or less. There is a slight difference regarding the specific information that is broadcast. Because a beacon cannot track the location of the pilot, it will broadcast the location from which the drone was launched. If the pilot then walks away from the launch point, the beacon does not have information about the pilot’s location.
If a drone has built-in Remote ID, possibly it may refuse to launch if Remote ID is not operational. I don’t think we know that yet.
Remote ID for drones is similar to ADS-B for manned aircraft. In general, drones will not be allowed to broadcast ADS-B nor ATC; this is apparently what airplane and helicopter pilots want.
To maintain certification, the FAA has required remote pilots to pass a recurrent exam every two years. That exam has been conducted in-person under watch of an authorized proctor. However, this is being replaced by an on-line recurrent exam and a fee will no longer be charged to take the recurrent exam.
The official timeline called for online testing to be available March 16, 2021 but that did not happen. The revised timeline says it should be available today, April 6, 2021.
The new online exam will include questions about Remote ID and night operations. This presumably includes such topics as diminished depth perception, lighting requirements, etc.
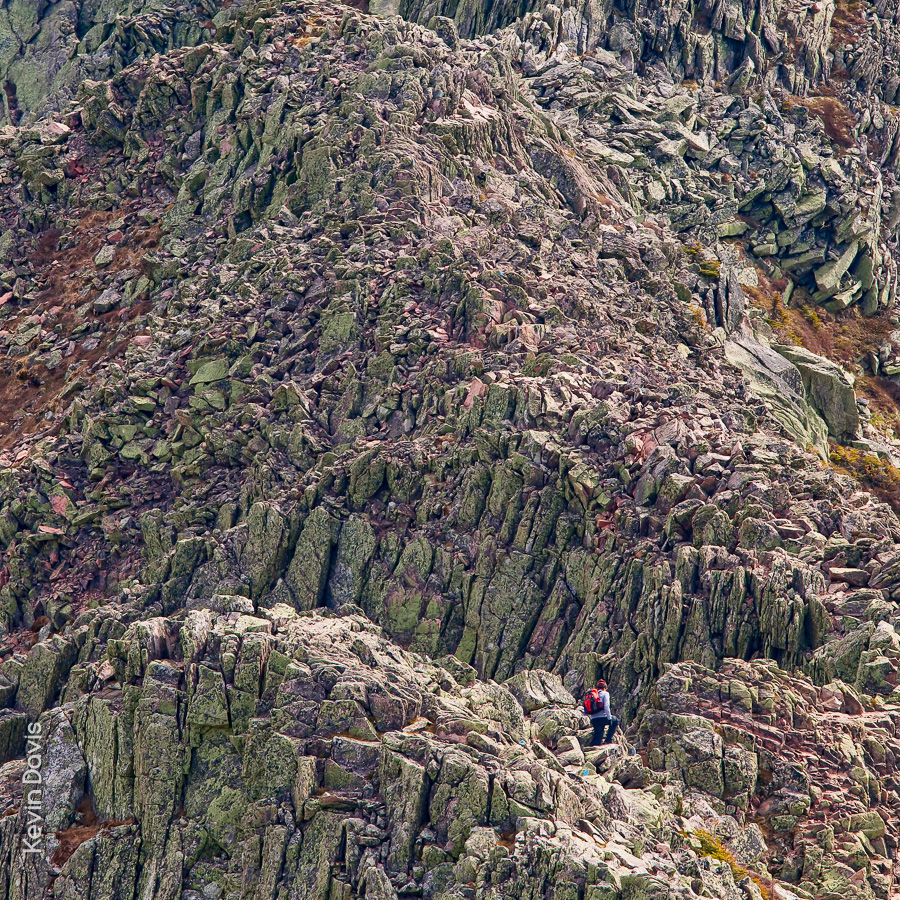
Mount Katahdin, northern terminus of the Applachian Trail
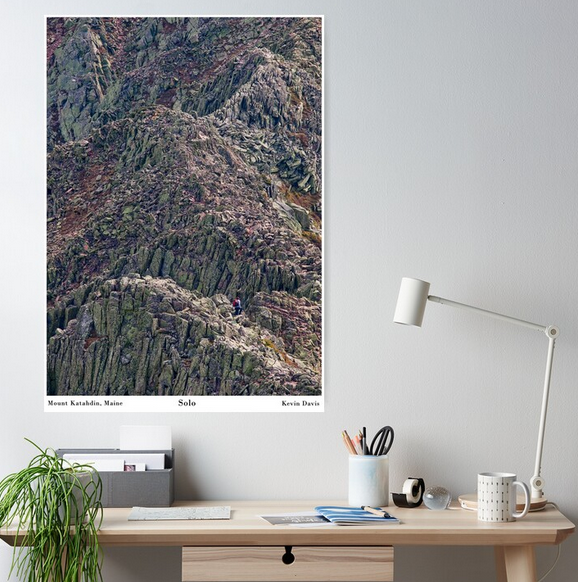
I’ve been thinking of turning this image into a wall poster and have finally done that. The scene is remarkable in particular because a solitary person appears quite small and provides the viewer a sense of scale. This mountain is unlike any other east of the Mississippi River.
I created this photograph during a solo visit to Katahdin. After spending the night at Chimney Pond, I arose early and ascended a very steep trail up to the top of the ridge. As a matter of lucky coincidence, this unidentified lone hiker happened to be about twenty minutes ahead of me.
Here’s what the medium-size poster looks like on my Redbubble store (https://www.redbubble.com/people/kevinheaven/shop).
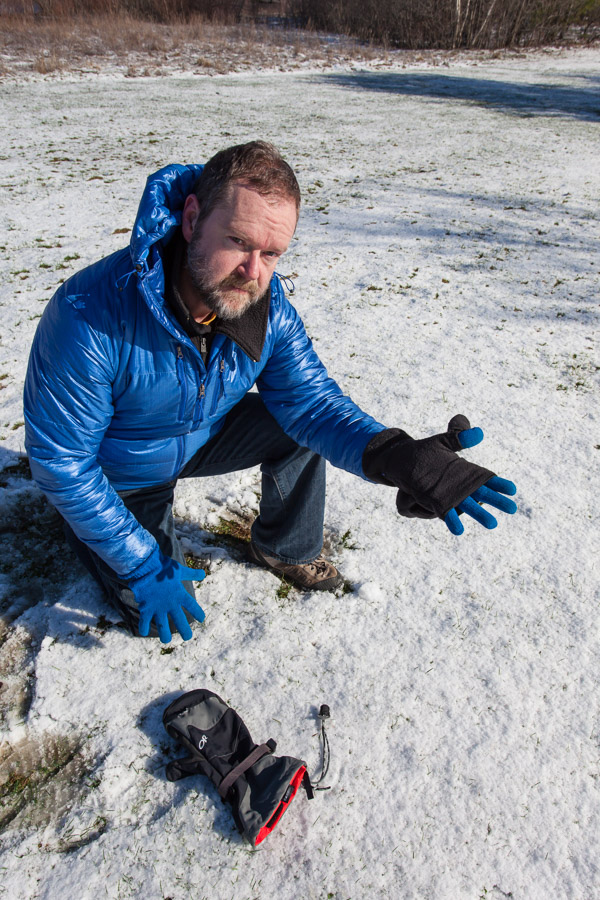
Author Kevin Davis with the Meteor Mitt by Outdoor Research
Operating a camera can be difficult (or impossible) while wearing gloves or mittens. This problem is compounded if your fingers are very prone to becoming cold – perhaps your fingers get cold at a temperature that causes no trouble at all for some of your friends. That’s the subject of my video: Gloves for Winter Photography.
Available products change every year; companies routinely invent new models and some older models may be discontinued. Of those that I have personally owned and used, here are my favorite lightweight gloves for mild temperatures (all are touch-screen compatible):
#3 REI: Grip Gloves #2 Black Diamond: Powerweight Liner Series #1 Burton: Screen Grab Liner
In the past ten days, I have twice used a glove seen in the video, a pop-finger fishing glove by Palmyth, which I paired with a touch-compatible glove liner. In advance of a snow forecast, I selected these gloves to wrap burlap around shrubs, a task that involves twine and tying knots. And for photography, I used these same gloves to pilot an aerial drone. With my fingertips covered merely by a glove liner, operating the touch-screen was beautifully easy. However, for a flight that lasted less than 15 minutes, my fingers soon became cold. As the air temperature was 33 degrees (f), this solution was barely adequate and would be a terrible choice for a shoot lasting an hour at that temperature.
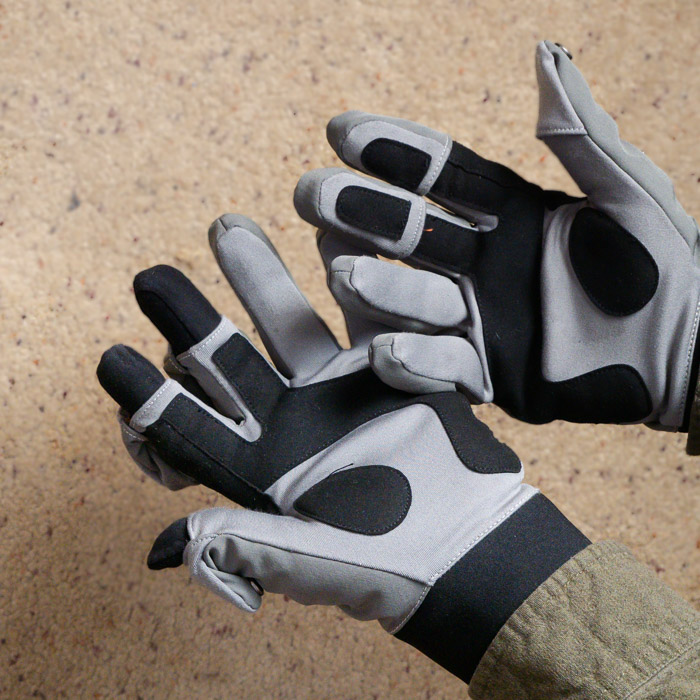
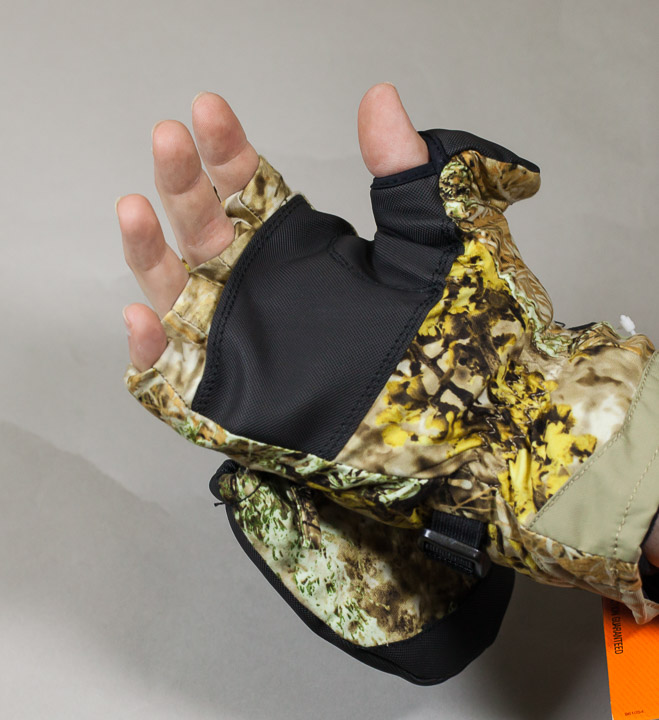
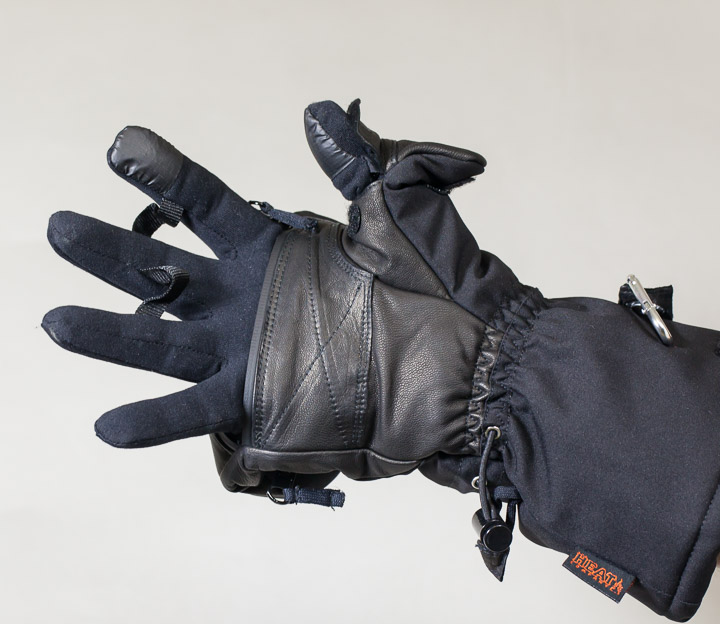
Shown here are a couple specific glove-mittens (a.k.a. glomitts) that I tried but personally decided that they didn’t measure up. Both include a pocket to hold a heat packet, which is a nice feature.
The first is an insulated glomitt from Cabellas. Unfortunately the finger openings were so snug that they could not accommodate a base-layer, a glove liner. Since bare fingertips is not practical for my cold fingers, this product was unacceptable.
The second is an unusual full-finger glomitt, the Heat3 Smart glove. The interior glove and exterior mitten are fully integrated, the glove is not removable. Having read very favorable reviews of this product, I tried it. However, I was disappointed and promptly returned them. Considering the cost of these gloves is $150 (or more), I can get a battery-heated solution for about the same money.
Despite the exceptional construction, the shortcoming of this glove occurs when in half-mitten mode. With the mitten folded back and fingers exposed, this product is no better than a lightweight glove. If I need an extended period of time making photographs (with the mitten folded back), it simply is not adequate. A slightly better solution is a half-finger glove with a lightweight glove underneath; therein, the fingers below the knuckle have a double-layer while the fingertips have a single layer.
I must also note that the Heat3 Smart gloves include a magnet. That can be problematic; see tip #7 in my video about gloves.
Statistics tell us that 80% of all Americans use a smart phone. That number rises to 83% in some European countries. As we carry not only digital camera-phones but also digital photo storage in our pockets, are photo prints dead? Are old-fashion photo albums a thing of the past?
Framed photo prints are still valued, either for wall display or atop a desk. However, the once ubiquitous notion of a family photo album seems to have faded. From 2007 to 2017, people relied more upon photos stored in their smart-phones. This led to a common problem of filling up that storage to maximum capacity, requiring the time-consuming and painful task of choosing which photos to delete, to make room for new photos.
Since 2015, the available options for cloud-based storage have increased and largely eliminated the problem of insufficient storage for too many photos. This facilitates another problem – failure to delete useless photos and keep only the good ones. Yet another problem has arisen. While some amount of storage is free, larger amounts of storage incurs a fee and and if you cease to pay that fee for any reason (accidental or temporary financial stress), all of your photos may be forfeited. It is similar to renting a storage closet; if you do not pay the monthly fee for any reason, the storage company will get rid of all your stored items regardless how valuable they might be.
What about the old-fashioned album of photo prints? While albums are clearly still valued in the context of wedding photographs, what about the iconic album of family photos? Once upon a time, every family had such an album.
Albums do still have value but not as much as twenty years ago. The physical size limitations require us to curate our photos; that’s a good thing. From a total of 2000 photographs of varying quality, we might cull 100 photos of high quality or highest emotional value. That result is both more meaningful and more practical to share with other people.
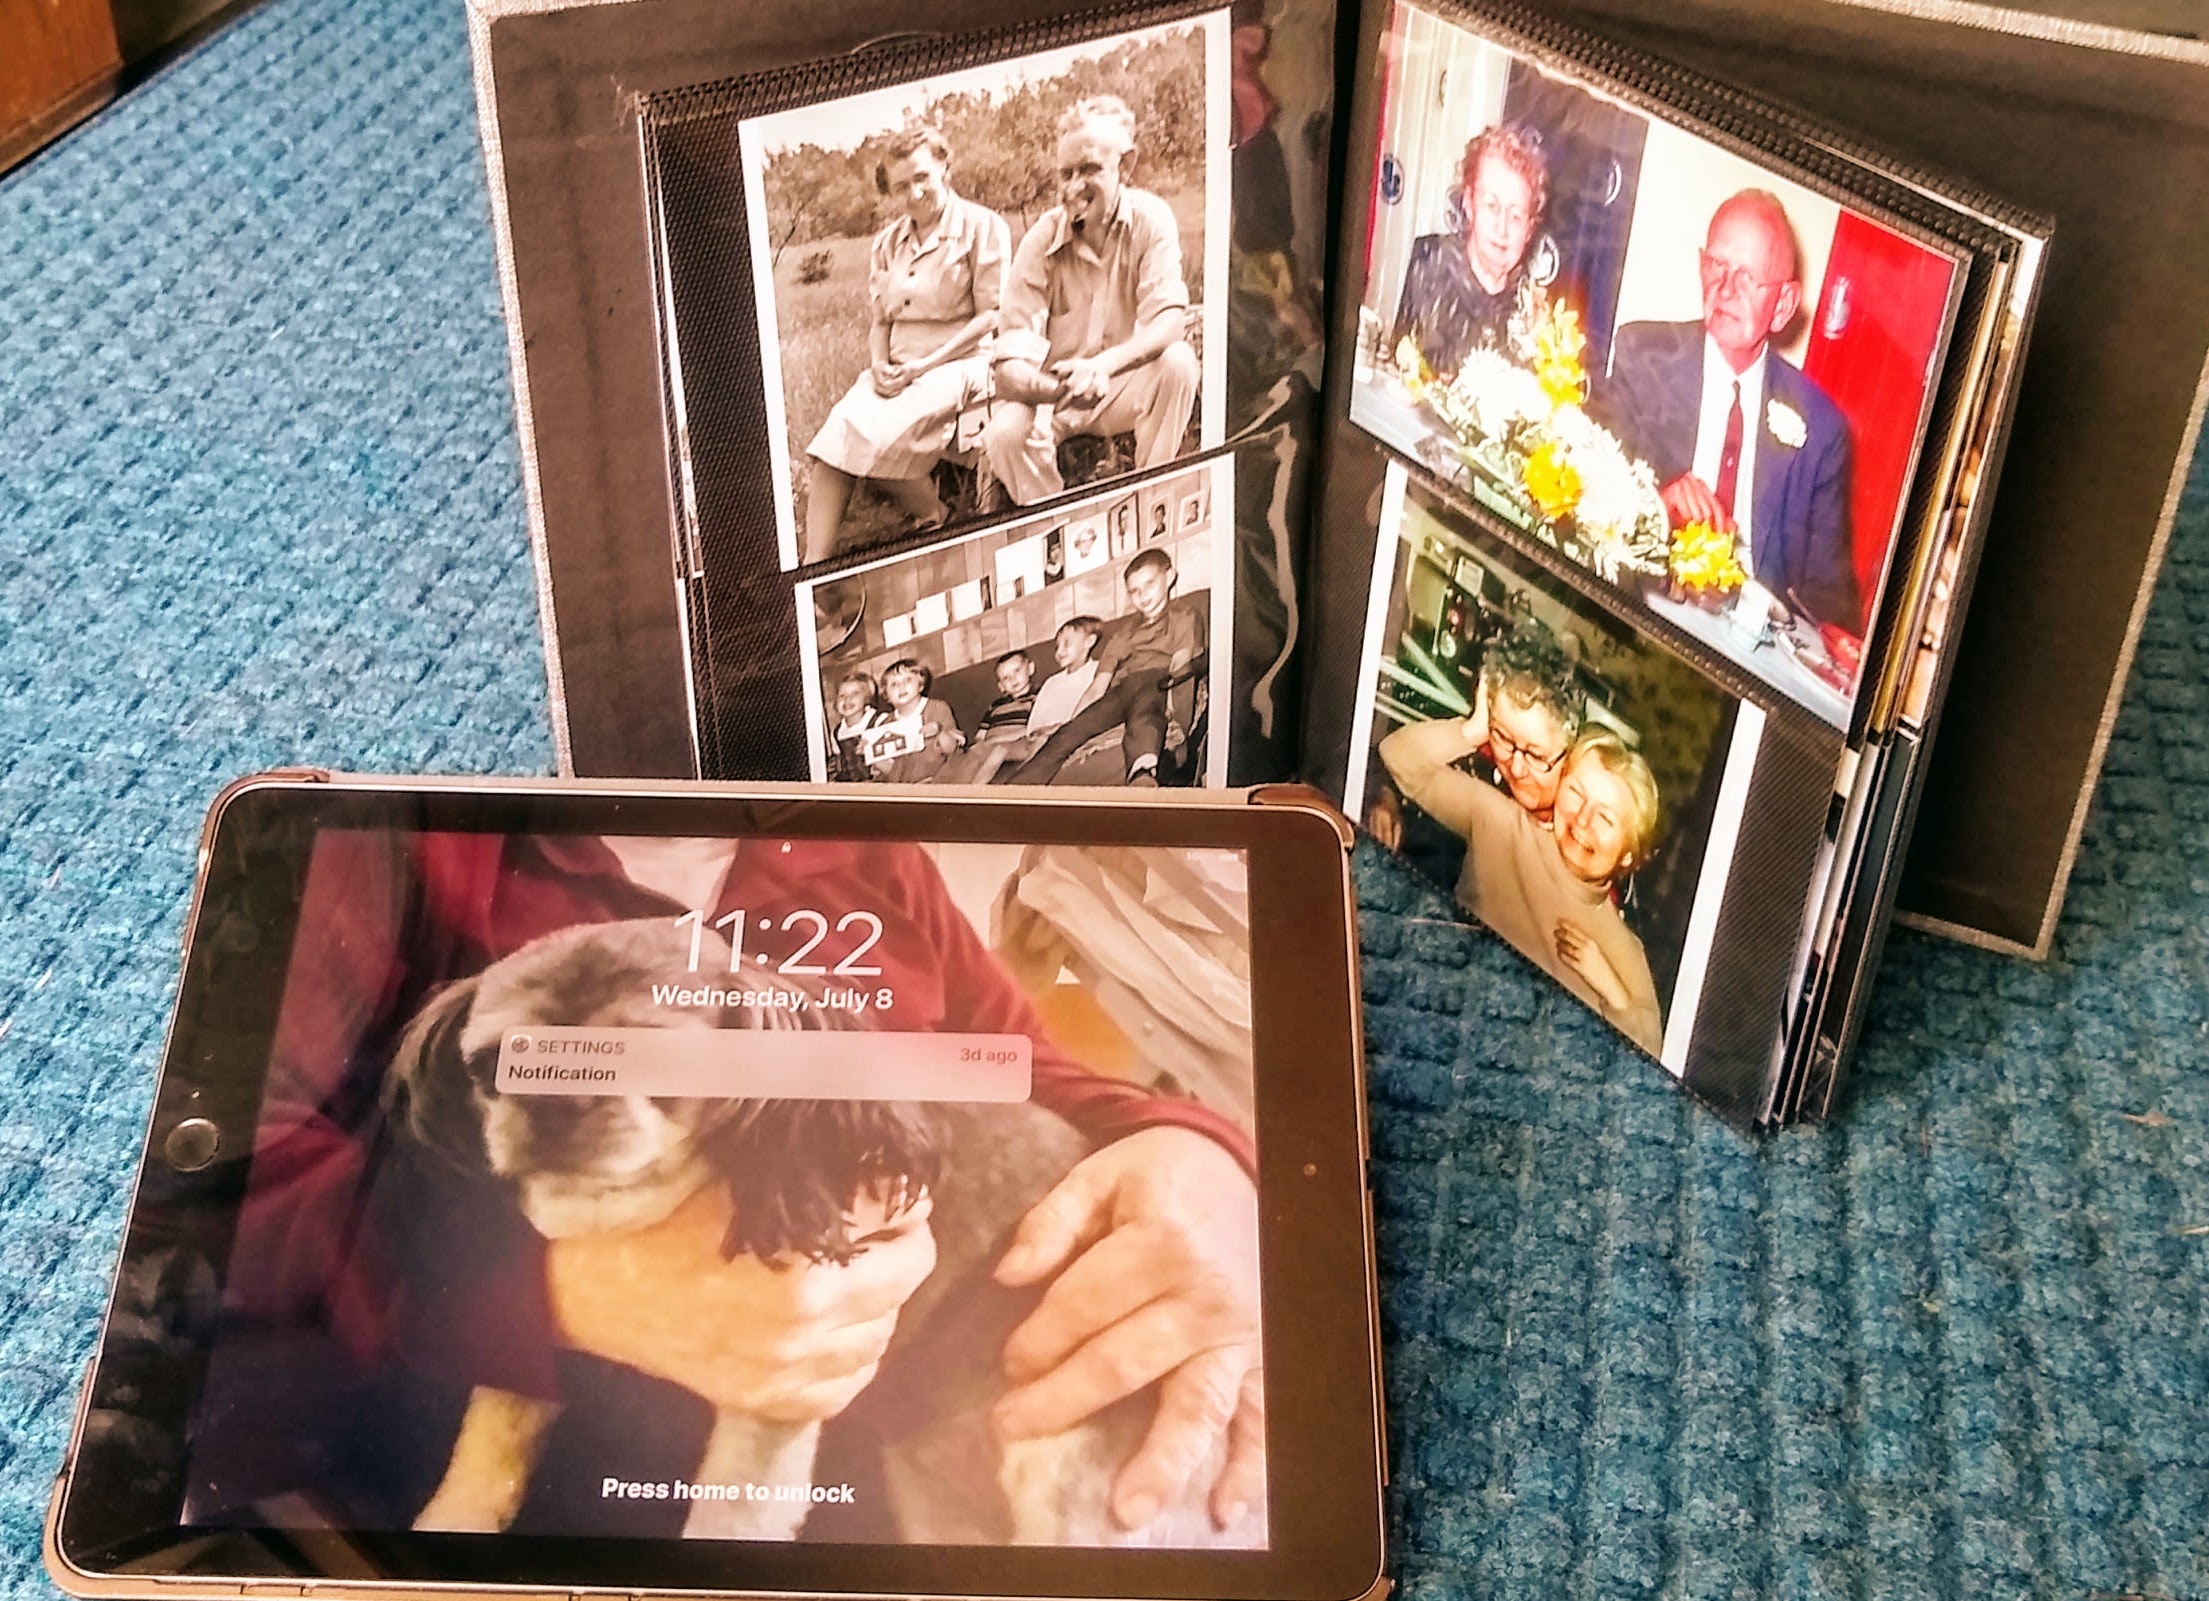
Gathering my parents’ old photo albums, I recently selected the most meaninful and scanned these to digital form. (Some of these images are older than me.) I asked my sister for any additional digital photos from her family collection (images very different from my mom’s collection). Then printing these photos at 4×6“, I gathered them into an album and gave it to my dad on Father’s Day. This album is both meaninful and practical, as it gathers significant images from multiple sources and presents them in an obvious form that requires neither electrical power nor any technology to view them.
A blank photo album, awaiting your photo prints, is difficult to find in local retail stores. I tried three local stores and found that two of the stores each offered only one album product for purchase. So, if you are looking to purchase and empty album, your best bet is to shop online. Alternatively, the best local retail option is probably a photo/camera store.
Obviously, accessing photos from a mobile device is great because you can access your photos without carrying around extra baggage. (And, if your photos are stored in the cloud, you may be able to access your photos from any device at all.) A physical print album is not going to replace your digital photo viewing; it is merely complimentary – an alternative way of seeing and sharing photos. Sometimes a physical print album feels better. Furthermore, we know that many people prefer to read print books instead of eBooks.
A digital photo frame is another option. These electronic gadgets ( which have been available for at least 15 years) can have advantages over low-tech albums and high-tech smart devices. For viewing, the user interface is as simple as : turn it on and watch the slide show. For photographs, some devices include wi-fi capability and can pull images from online sources. This may allow distant family members to upload new images remotely – for example, family members can upload photos of grandchildren which then display on grandparents’ digital photo display. While you can certainly do this with computers and mobile smart devices, the digital photo frame may me an easier, more friendly mechanism, particularly for people who don’t like the complexity of computer interfaces.
In the final tally, viewing family photographs on computers and mobile smart devices has certainly taken center stage. The appeal of printed photo albums has declined dramatically. The venerable photo album is not entirely dead and likely it never will be.
Recently, I borrowed some old photo albums from my mom. These photos were captured either on negative film or Polaroid instant film. For posterity sake, I am converting these old photos to digital.
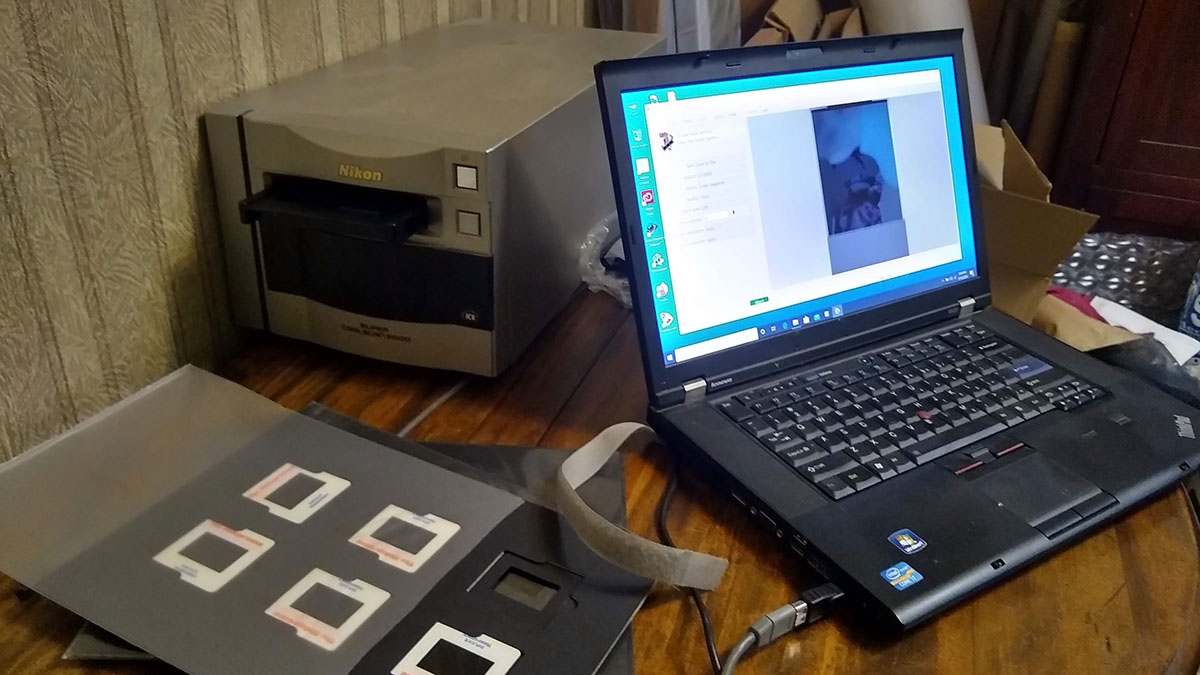
For either negative film or slide film, a computer accessory to scan film can still be purchased today, but I had an old Nikon scanner collecting dust. This scanner is more than a decade old and the interface to a computer is Firewire, not USB. As Firewire has fallen out of favor, most computers do not have a Firewire port. However, my aging laptop does have a Firewire port. Yet I had to overcome two problems. First, having upgraded the laptop to Windows 10 last year, Win10 does not include a driver for Firewire. Second, the port on the laptop is a different size than the cable from the scanner.
With some difficulty, I eventually did install a legacy Firewire driver. And a bit of research online told me that Firewire connectors can be 4-pin, 6-pin, or 8-pin. Purchasing a 4-pin to -6pin adapter (which can be seen in the photo here) allowed connecting the scanner to the computer.
Nikon no longer supports this scanner and the last software release was intended for Windows Vista (a short-lived version of the OS in between Windows XP and Windows 7). After considerable research and effort, I could not get this software to function on Windows 10. However, in the past, I had also used a third-party application called VueScan and I found that I still had that 10-yr-old software installer. After installing that and configuring it to run in Windows-7 Compatibility Mode, I was able to successfully operate the scanner.
If you don’t have a film scanner, you can buy a new or used scanner … or send your film to a lab that provides scanning services. While I was still struggling to get my old scanner operational, I looked online and saw a used Epson V600 for less than $100. This was my backup plan, which I now do not need. The important feature here is that the V600 can scan both 35mm and medium-format films, which is important to me but may not be important to you.
Many labs provide scanning services; just search online. I have done this in the past with good results. The resulting digital photos may be provided to you via internet download or on a CD-ROM. (Be aware that labs may charge you a fee for each physical disk, perhaps $5.)
Two services can convert still-photo film, motion-picture movie film, and VHS videotape: LegacyBox and Kodak Digitizing Box (yes, Kodak, an old trusted name in photography). But I have not personally tried either of these services. If you only need to digitize 35mm negatives or 35mm color transparency film, other service providers may be less expensive.
Personally, I don’t want to digitize ALL the old film photos because most of them are discardable snapshots that do not show important memories. It makes sense to extract the few negatives or slides, scan them, and then return the original to where I found it. For this reason, I chose to do the scans myself rather than send it out to a scanning service.
A smaller number of photos were shot on Polaroid instant film. This is outside the capability of a film scanner. However, these can be scanned using a flatbed scanner or an all-in-one computer printer (printer, fax machine, scanner all in one). It just so happens that I acquired a new all-in-one last year and I have found that this is adequate to scan the Polaroid photos.
Hypothetically, let’s say you’ve just scanned a photo of somebody’s 18th birthday. (My mom was very careful to annotate each photo with the date and subject, usually written on the backside of the photo.) You’ll want to save that descriptive information with the photo. The final step in scanning an image is to rescue the “metadata” – the descriptive information. The digital photo will be either a JPEG or TIFF file. Both these formats include metadata and you will need some sort of software application that allows you to write that information, notably a particular item called “Description”. I personally used Adobe Bridge but there are numerous other alternatives.
April 19 – Boston
At the Public Garden, the flowering plum trees are solidly at peak bloom. Although some cherry trees are beginning to drop their flower petals, color will soon be reborn once the crabapples begin to bloom.
The jackpot of cherry trees is located nearby at the Charles River Esplanade. Here, multiple varieties of cherry trees are near peak bloom and should be giving a great display all this week. Of course, the Kwanzan Cherry trees (near the Hatch Memorial Shell) have not yet begun to bloom.
Charles River Esplanade, Boston Massachusetts
April 21 – Portsmouth, New Hampshire
Cherry trees near City Hall have not yet begun to bloom. Just across the street at Langdon Park, the prettiest tree in Portsmouth is just beginning to display the first few flowers. Downtown on State Street, flowing plum trees are displaying good color.
Recently I have been working through my photography catalog for the purposes of overhauling my website. At the same time, I’ve been recognizing that some images can be repurposed for graphic t-shirts and coffee mugs. My latest design is shown here; the left version is intended to be printed on light backgrounds and the right version is intended to be printed on dark backgrounds.
For this particular work, I used Adobe Photoshop and multiple plugins by Topaz Labs. To adjust the color palette and to enhance the details, I commonly use Topaz Adjust and Topaz Detail.
Here’s the original digital photo from ten years ago. This was probably the first time I had ever taken a digital SLR on a backpacking trip. Because I had not yet learned the features of this camera, I neglected one of the most remarkable features of the Canon 5D mark II … the first DSLR camera capable of 1080p high-def video. To this day, I regret that I did not capture any video in this remote unique landscape.
If you look closely (click on the image to see a larger view) toward the top right of the image, you will see blue blazes painted on the rocks; these blazes mark the hiking trail … a very narrow trail with a potentially nasty drop-off.
All photos in this post were created this morning in Boston.
Considering that the peak bloom in Washington D.C. is at least a week early this year, I am a bit surprised that the timing of cherry blossoms in Boston is looking to be far more normal.
Washington D.C.
“Peak bloom” of the cherry blossoms in Washington D.C. generally pertains to the Yoshino cherry trees.
(According to the National Park Service) This year, peak bloom occurred about March 20, compared to last year when peak bloom occurred April 1. The March air temperatures this year were about seven degrees (f) warmer than last year.
Several years ago, I was in D.C. for the cherry blossoms when spring temperatures arrived earlier than normal. Fortunately for me, I caught the peak bloom just a day or two before a wind storm knocked most of the blossoms off of the Yoshino trees on March 25.
Branch Brook Park, Newark NJ
A 360-acre park, Branch Brook hosts 5000 cherry trees, the highest density of cherry trees anywhere in North America. With numerous varieties of cherry trees, they do not all bloom at the same time and peak season can last two to three weeks.
As I visited Branch Brook in 2019, the trees were spectacular around April 11.
In 2020, in the interest of social distancing for COVID-19, the park was formally closed to visitors. I can find no information regarding the timing of the cherry blossoms.
Boston MA
A bit akin to Branch Brook Park, Boston has a variety of different trees such that “peak bloom” in Boston is not a singular period of three to five days. Furthermore, Boston’s flowering trees include species other than cherry trees. The Back Bay area is known for Magnolias that bloom at the beginning of April, a dozen varieties of cherries, followed by Kwanzan Cherry that bloom near the end of the month, and then joined by Flowering Dogwood.
In 2019, cherry blossoms along the Charles River Esplanade were stunning around April 22.
Today in 2020, along with the blooming of Magnolias, both Haigan and Weeping Haigan cherry are just now blooming. While I did see two other cherry trees blooming, most cherry species have not yet begun to bloom in Boston.