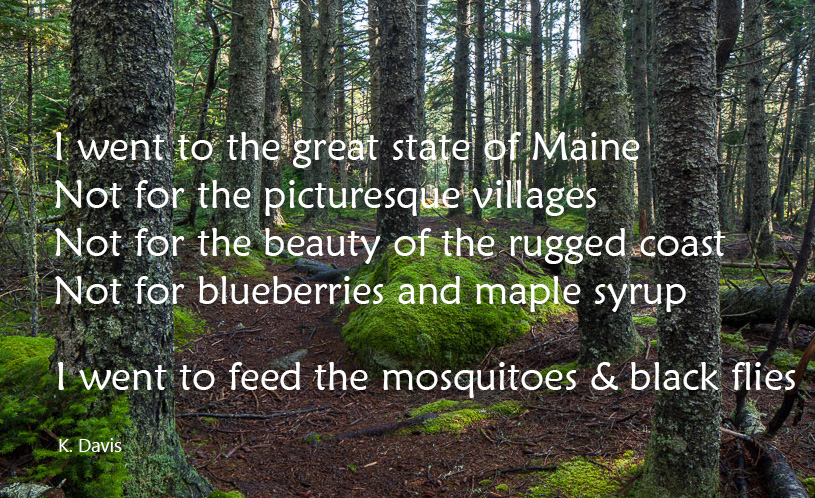
Why I Went To Maine
Scenic photography locations
I recently published an eBook, a travel guide. You can see it here: on Amazon.com.
If you write a travel guide to any place, the smart play is to sell a print book in a gift shop at that place. But my book is an eBook and not available in print (yet). If I can’t sell it in gift shops, then how to market the eBook to local tourists?

If you write an eBook, a purely digital thing, the smart way to advertise it is digitally; click this link – buy it now. Yet, because my book is a visitor guide, a very local subject, I have not found a website venue that is both very good and local.
My idea is to distribute some “rack cards” where local tourist literature is displayed. It’s not ideal because it’s difficult to convert a piece of paper into a digital sale. This is exactly the purpose of QR Codes. A QR code is like a web link, a URL, but for cameras.
I have never been a fan of QR codes because, until recently, I did not have a “smart” phone capable of recognizing QR codes. But I am warming up to QR codes now. For a subset of the tourist population, a QR code on my printed card will allow people to quickly find my eBook, look at the preview pages, and maybe purchase it.
How does a person get a QR code? Apparently anybody can generate a QR code for just about anything. It’s free. Although you can pay for a subscription that provides interesting features, such as tracking the number of people who actually use your code, this is not required.
Here are just a few of the many websites that can generate QR codes for free:
beqrious.com
goqr.me
unitag.io
Some QR sites (e.g. http://www.visualead.com) require you to sign-in or sign-up before you are allowed to download the resulting graphic file of your QR code.
Who actually uses QR codes? Here is some interesting data at QRstuff.com
q1-2014-qr-code-trends
Somewhere I have seen a QR code displayed on a website. What’s the point to that? It’s just … I mean … technology … it’s stupid, right?
My new book is now available as a Kindle ebook via the Amazon on-line store. Readable on any device (iOS, Mac, Android, Windows) using the Kindle app (free).

Link to the book on Amazon.com (US):
See Vinalhaven Island Visitor Guide … at Amazon.com
This is Maine, not Miami. On Vinalhaven, you won’t find loud night clubs or crowded marinas jammed with pleasure boats. You will find miles of walking trails and superb waters for paddling kayaks.
The book includes roughly 22 color photographs. The only “manipulated” image is on the cover, shown here. I nudged the foreground boat just a tiny little bit in order to make more room for the title box.
Honestly, I had thought this would be finalized a month or two ago, but … life happens. And then there were a few final edits, including a couple tweaks to the island map. An interactive map would be nice, but current e-reader devices don’t support that functionality (yet).
Bright colors. That’s pretty much what it’s all about when photographing amusement park rides. Daytime photographs pale in comparison to night photographs of the rides.
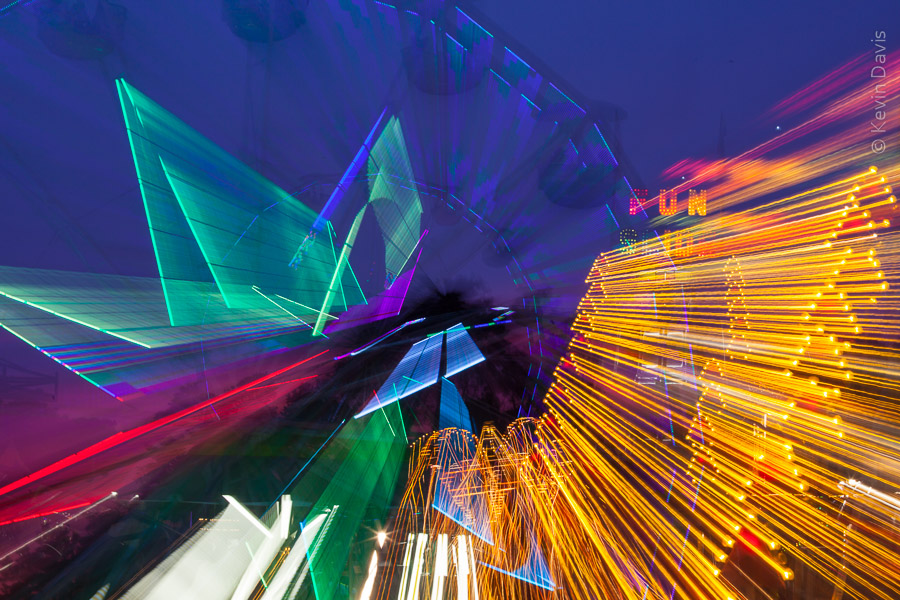
This photo here is from the Washington County Fair (Rhode Island). Although there was a fabulous pink sunset, I did not see it in time, so missed that photo opportunity. In this photo here, there is just a hint of the pink color in the bottom left background.
The best time is dusk. Just after the sun sets, there is still some light in the sky, but it’s darker than the lights, resulting in some contrast.
OK, so … it’s dark. Can your camera make a photograph? Sure. But you may need a long exposure, longer than 1/30 second. This shutter speed for this photo here is 1.3 seconds.
A slow shutter speed implies the camera could move slightly during the exposure and mess up the photo. So you need to stabilize the camera. Tripod is the right solution to this problem, but in this example here I had a monopod (just one leg). With the camera on the monopod, I braced it against something solid. A telephone pole will do; in my case, it was an above-ground pool, on display near the midway.
The last ingredient in this photo is, of course, the zoom effect. With the camera set to 2-second delayed shutter. I pressed the shutter button and poised my hand on the zoom ring of the lens. When the shutter clicked open, I rotated the zoom ring.
Boston is buzzing with the bright colors of flowers and flowering trees. Hands down my favorite time of year in Beantown.
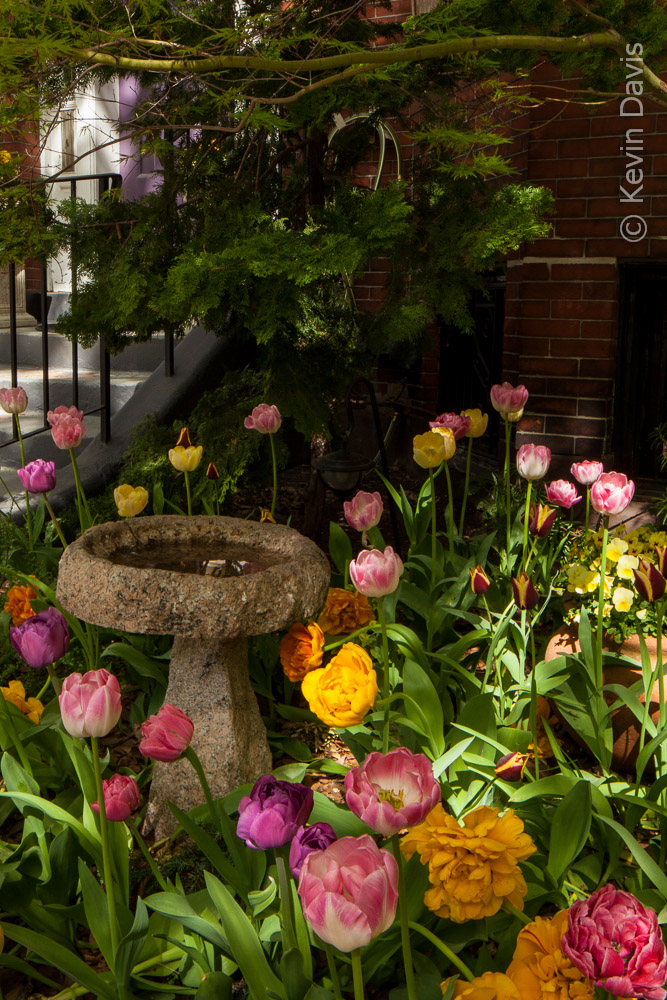
The crown jewel is probably Boston Public Gardens, but there is much more. The Esplanade along the Charles River is bursting with flowering trees … and B.U. students out enjoying the sunshine.
In the narrow streets of Beacon Hill, you can find some surprising small displays. For photography, be aware that the light changes dramatically in these tight spaces sheltered by tall brownstones.
A long winding stretch of busy roadway known as The Riverway skirts along the edge of the Emerald Necklace. At the northern end, close to Kenmore Square, are the Kelleher Rose Garding and Fenway Victory Gardens. (Though, there’s not much to see right now at the Rose Garden; too early for roses.) Heading south into Jamaica Plain, an hour or two at the Arnold Arboretum is always nice.
My friend Charlie drives a taxi in the city of Boston; he doesn’t much care for the busy heart of the city. But as I occaisionally make time to walk the streets, I am frequently surprised by gems of natures splendor, whether planted by the city or by residents tending what small patch of ground is available to them.
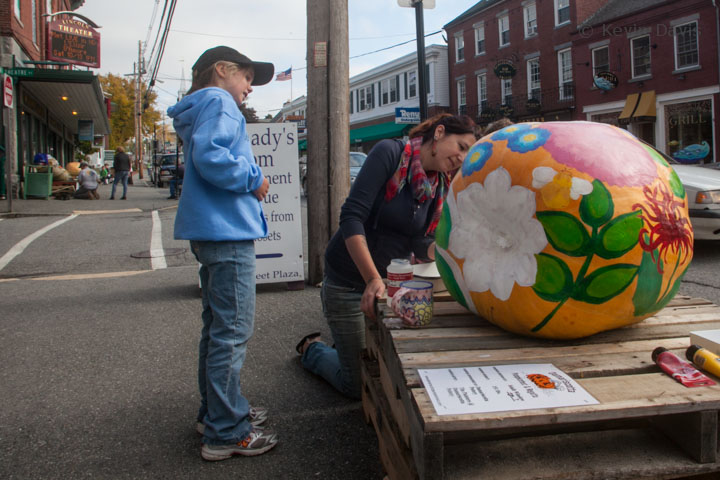
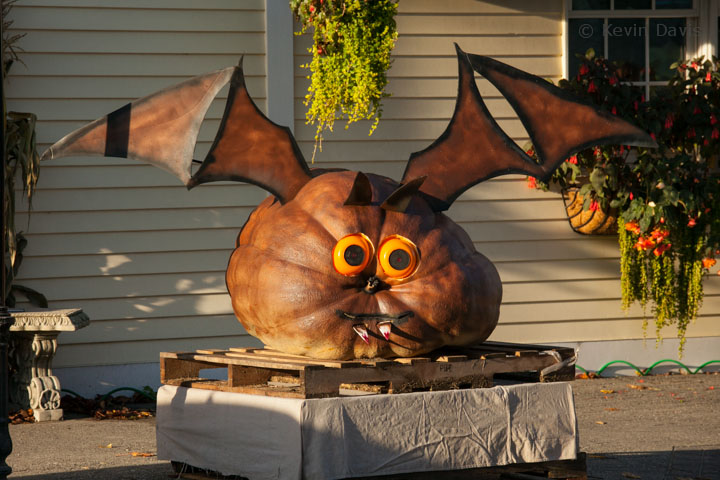
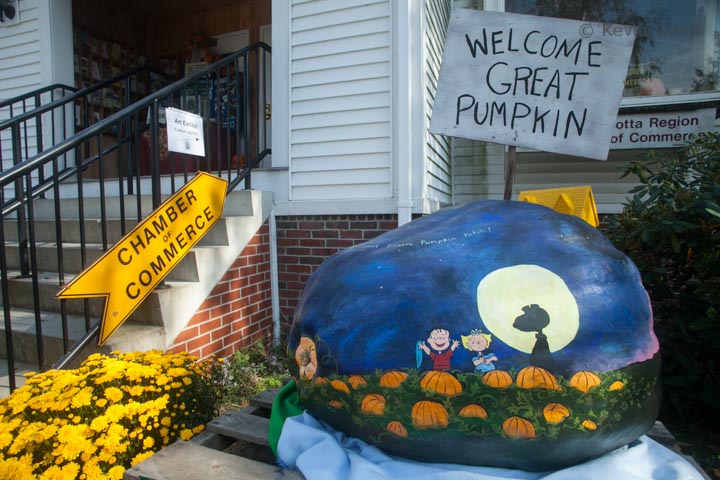
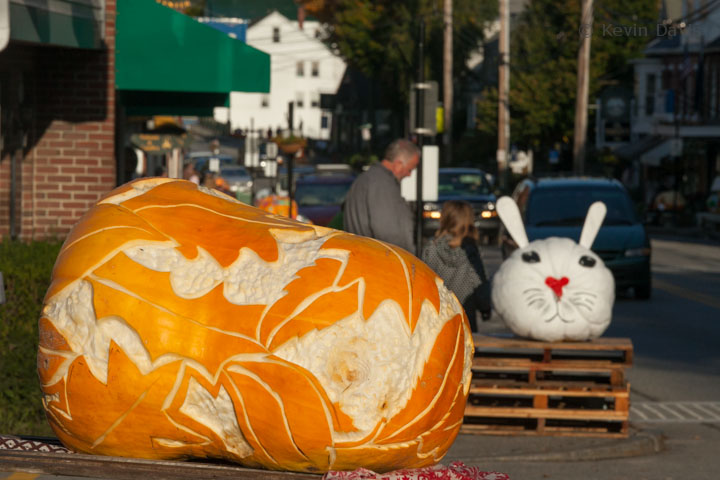
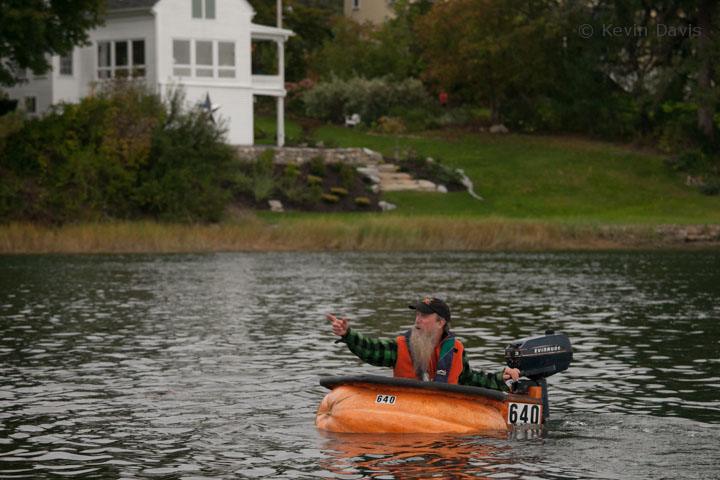
At the tail end of September this year, I photographed a couple of events where giant pumpkins were weighed in competition. I overheard a fellow make a comment about one particular giant, “There’s something weird about that one.” I leaned over and offered my own uninvited follow-up comment “There’s something weird about all of those pumpkins.” The guy grinned and enthusiastically agreed, “Yeah, they’re all huge!”
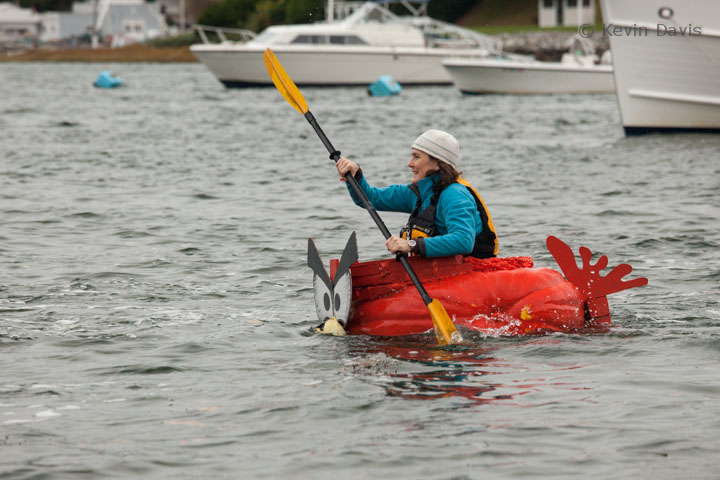
Giant fruits and vegetables are generally peculiar. But a crowd of a hundered people eagerly watching pumpkins get weighed on scales, that’s peculiar too. Even more surprising is the uproar and applause when a new contender puts up a number (on the scale) bigger than any other. Stranger still, some people carve out the giant pumpkins, float it in water, climb inside and paddle it as a boat. I love New England!
(click on any image to see a larger view)
Purple Trillium, Painted Trillium, and Trout Lilly are just a few of the wildflowers in bloom in the White Mountains of NH this weekend.
 Purple Trillium is tricky to photograph because it has a nodding presentation (the flower faces downward). In the first photo here, I propped up the one flower with a stick (just a couple inches) so that it was not nodding. I love the soft background in this image; there is a strong sense of location yet without sharp details. (f\10 @ 1/50 sec)
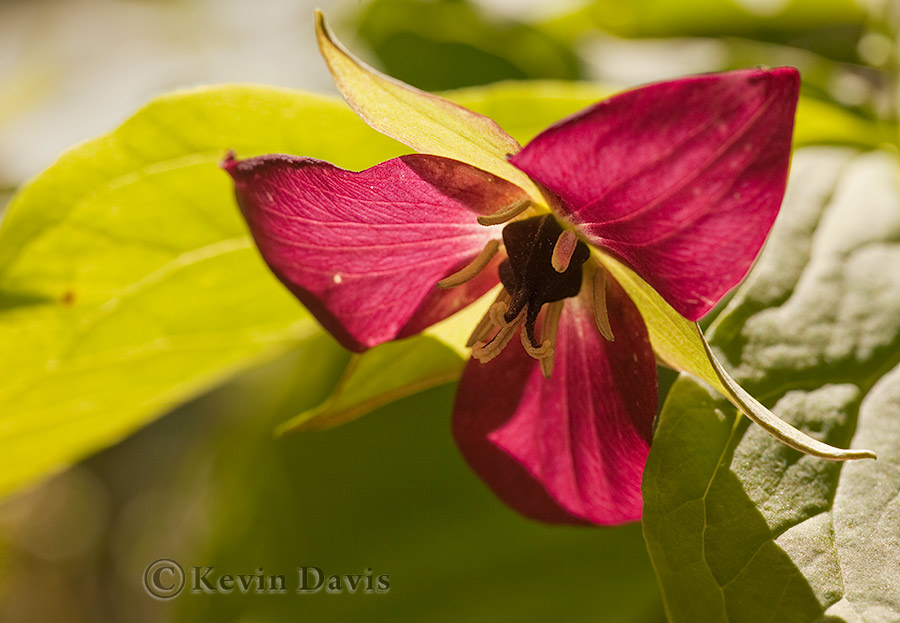
In the second image (with the sun shining through it), the flower was on a slight rise and I shot up at it as I lay flat out on forest floor. Sometimes you have to get dirty.
(f\7 @ 1/250 sec)
In both cases here I used a reflector to kick a bit of light up into the face of the flower. This helps the first image simply because the flower is much darker than the background. In general, this is not true in the second image, but it does help specific areas that are dark (for example the center of the flower).
Click on either image to see a larger view.
In Tennesee, anybody can enjoy Great Smoky Mountain National Park at no cost. There are no entrance fees and no parking fees. Apparrently this was part of the deal when the land was acquired (from native American Indians). And you can simply drive to the top of Clingman’s Dome.
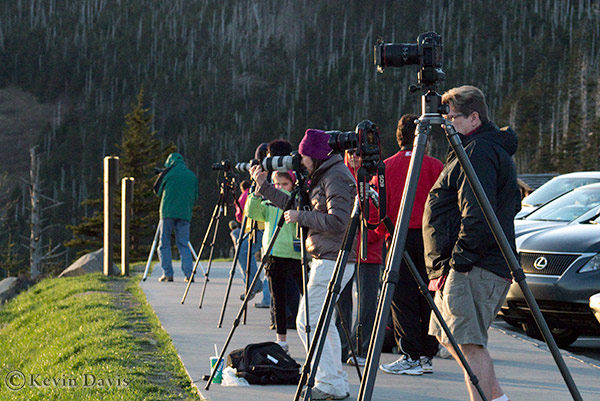
Any evening on Clingman’s Dome, there can be a bevy of photographers lined up to photograph sunset. (Probably sunrise too, but I have not witnessed that.)
But as most photographers point their cameras toward the sun, they may miss out on some of the best scenes … which do not directly include the sun.
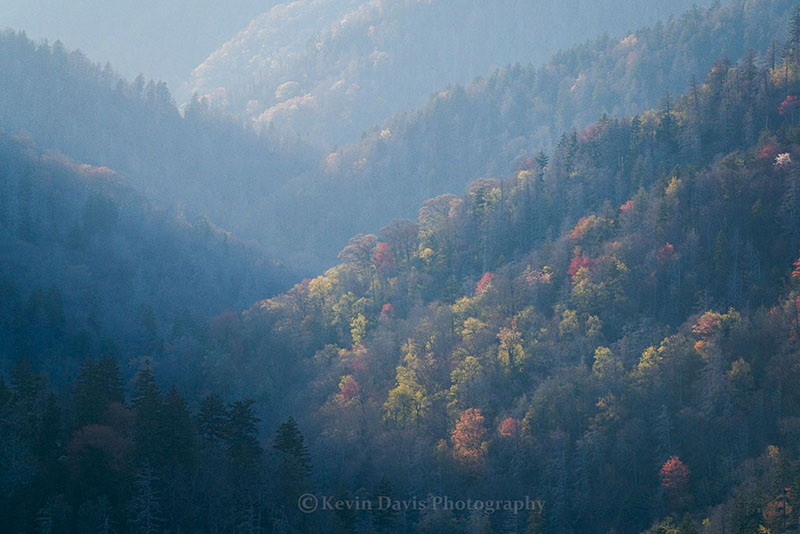
This image was shot with a micro-four-thirds camera (Panasonic Lumix G3) and captured as RAW. While JPEG images have already been processed (by the camera), RAW images receive no processing. In my experience, RAW images tend to look flat and require some post-processing (by me). While this scene appeared well to my human eyes, the camera capture was very low contrast. So the significant post-processing was to increase the contrast.
If your photography travels this winter will take you down a trail or up a mountain, here’s a short summary of winter footwear for both warmth and safety.
Winter boots are also known as snow boots or pac boots. These are designed for walking, snowmobile, hunting, snowshoeing, etc. The fit is typically loose and comfortable.
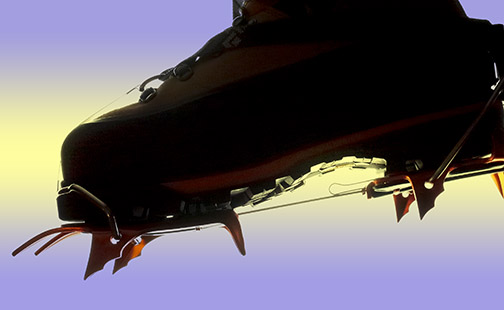 Mountaineering boots are very stiff and the soles have little or no flex. The biggest reason for this is to allow the use of crampons. Truthfully, most mountaineering boots are designed with emphasis on ice climbing, to the detriment of walking comfort. Most feel rather big and clunky (like the shoes of television character Herman Munster). Some have a plastic shell much like ski boots. Perhaps the most important thing to know is that not all “winter” mountaineering boots have insulation for warmth.
Some insulated boots can have insulation that is removable; some don’t. If you intend to do any winter camping, choose boots with removable insulating liner. Overnight, keep the liners close to your body so they don’t freeze up.
Insulated mountaineering boots range in price from $250 to $850. However, it is not impossible to score a pair of boots on sale for under $200. You can also get used boots at stores that accept trade-ins.
Crampons (pointy metal teeth that attach to the bottom of your boots) are most often designed for ice climbing, but some are designed for trekking (hiking/walking). Crampons for climbing typically have 12 points (teeth), though some have 14. Trekking crampons typically have only 10 points.
Not all crampons fit any boot. Crampons attach to your boots either via straps or a metal bar at the front and rear. Straps can be attached to just about any winter boot or mountaineering boot. However, it is important to note that some crampons have more flex than others. If you plan to use crampons on non-rigid winter boots, look for strap-on crampons that have a good deal of flex in the middle.
“Step-in” crampons clamp onto your boots with a metal bar or clamp at the toe and heel, requiring mountaineering boots designed for this. See the photo attached to this post.
Some “hybrid” crampons (also called semi-step) have a metal bar/clamp at the heel and a strap at the toe. But as with full-step-in crampons, your boot must have the proper design to accept this type of crampon.
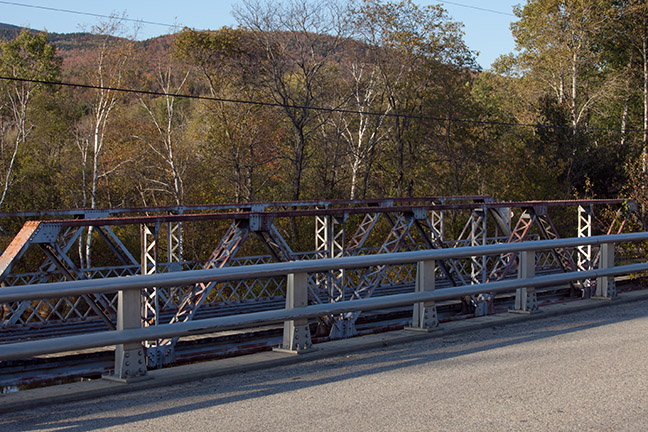
Recently travelling through northern New Hampshire, I was driving along the Ammonoosuc River shortly before sunset. This short video is a compilation of shots all filmed that evening along the river. The key scene is a dolly move along a metal bridge.
Driving that evening, I was looking for photo opportunities along the river when I spied the new bridge next to the old bridge. Then I noticed the long smooth railing and and remembered that I had the CineMover dolly with me.
The CineMover is an inexpensive dolly created by J.G. Pasterjak. Take a look for yourself here:
The CineMover is designed with vertical wheels and horizontal wheels, ideal if you have a long flat rail with a square profile. However this railing here did not entirely favor the CineMover as the railing shape is basically a half oval. There is nothing here to insure that the wheels track straight. Additional care was required because the rail had a significant dent that could easily cause the rig to jump a bit. But after several attempts, I managed to keep the rig mostly level along the 12 or 15 feet of uninterrupted rail; this move is not flawless, but it is pretty nice shot!