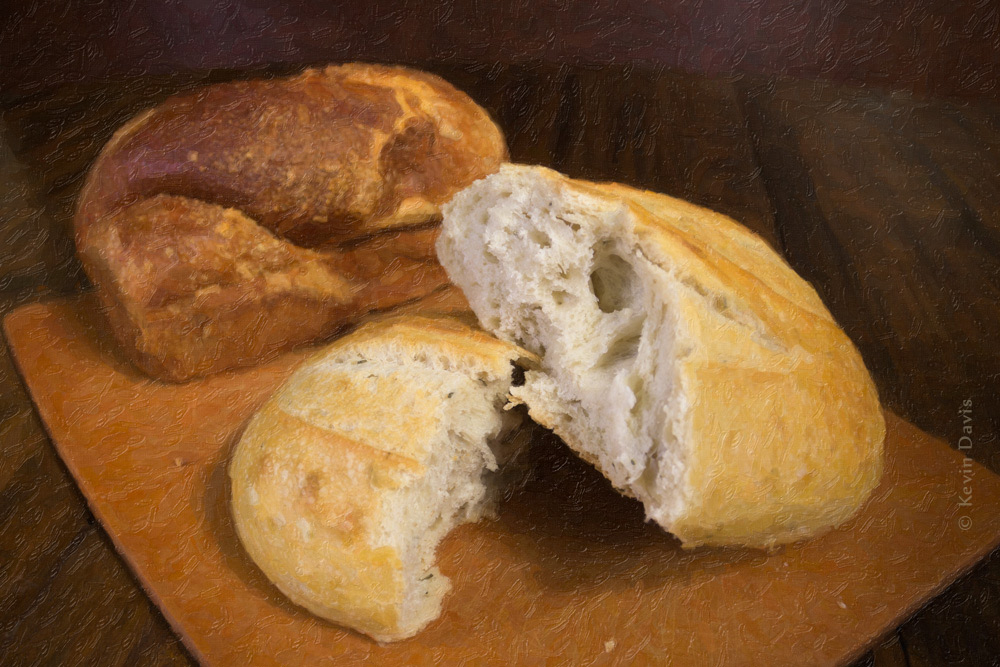
For the purpose of illustrating a theme, I was recently offered the task of photographing bread.

Here are the steps in making this image.
Although I originally thought this shoot might require actually baking my own bread, I quickly discarded that thought and went to my local market. The market sells specialty loaves that are far more attractive than anything I can make. So I purchased two different loaves of bread.
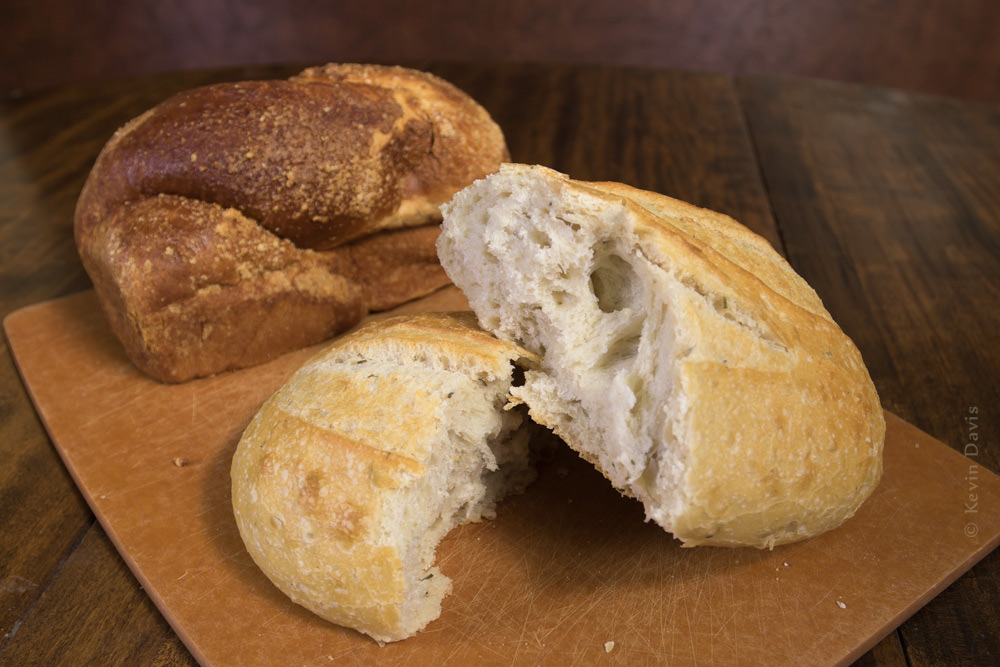
Initially, I photographed the unbroken/unsliced loaves. Then I thought to slice the bread, but instead chose to tear it in half for a more natural look. Good call.

After photographing for a half hour, this is the image I chose as the best.
Compare this original to the final image (shown before it). For a larger view, click on either image.
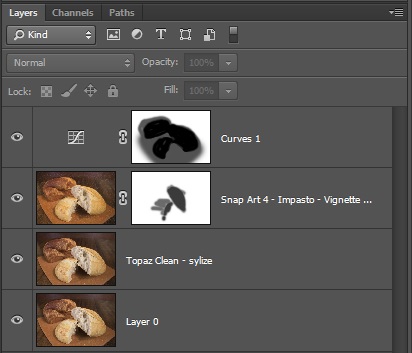
In Photoshop, I copied the image onto two new layers and applied a different filter to each layer. The first is a stylized using a plugin by Topaz Labs. But the effect is largely obscured by the next layer above it.
The next layer applies an artistic painting look using a plugin filter called Snap Art by Alien Skin. Through the use of a layer mask, the effect is not applied to the inside of the bread loaf. See the layers panel snapshot below. Where the mask is dark, you see the underlying layer.
Finally, to highlight the bread, I created a darkened vignette using a curves layer. The final image is shown at the beginning of this blog post.
 Here is a look at my layers in Photoshop.
Hello! Was the bread frozen?
Fresh bread purchased from a local supermarket.
(I figured it would probably look better than anything I might bake myself.)